Scheduling Instagram Posts Using Creator Studio 2021
Step-by-step guide to Scheduling a Post Using Creator Studio in 2021
Trying to optimize and put together a consistent posting schedule on Instagram feels impossible. Am I right or am I right? You can purchase third party tools to allow you to schedule but base line products can cost your business $150 a year. Well, finally Facebook has rolled out the Instagram scheduling feature for their creator studio product and it is super easy to use. As we have seen through research, one of the most important strategic focuses on Instagram is to have consistent post timing, so your followers can get into a rhythm with seeing your posts. If you haven’t noticed yet, if you post on desktop, Facebook is forcing you to either post immediately or over to Creator Studio anyways, so it is important that you start adopting it sooner or later. If you use mobile to post, you are unaffected for now and can schedule as you always have been able to on Facebook. Here is a step-by-step guide on how to use Creator Studio for Instagram Scheduling.
Step #1: Log into your Creator Studio Account
Step #2 - Click the Instagram Logo
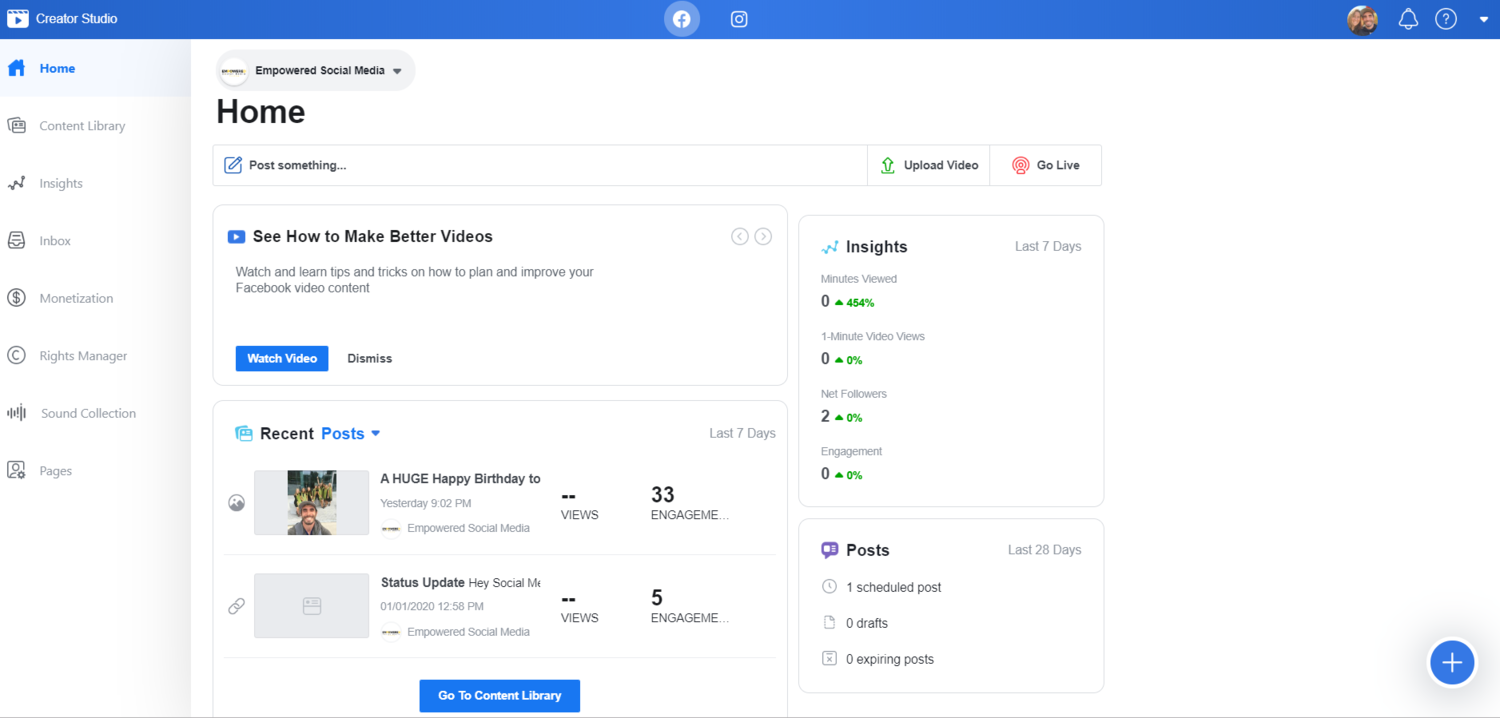
You have landed on the Creator Studio Home Page. Now click on the Instagram symbol at the top of the creator studio page. (If this is your first time accessing it, you will have to link your Instagram account, which will require your username and password.)
Step #3 - Click Create Post
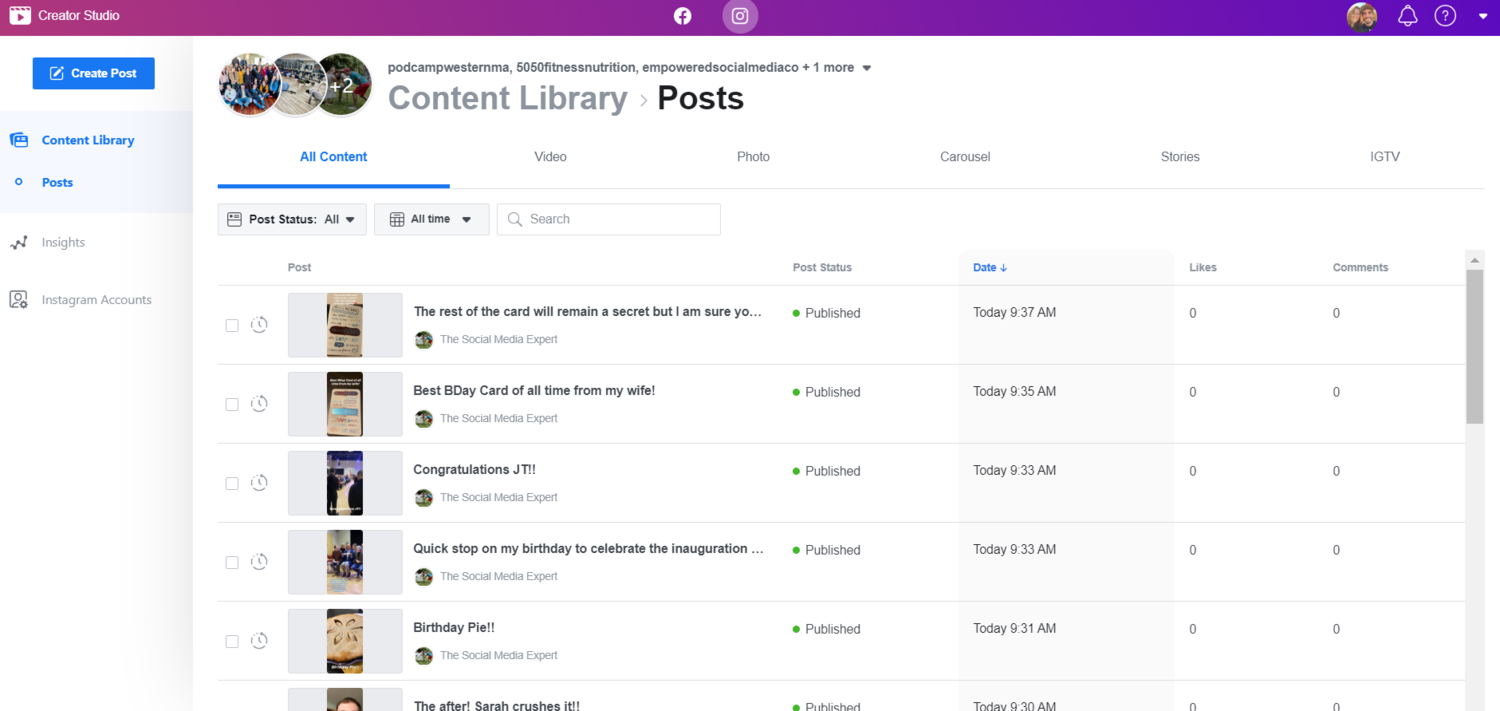
You have landed on the Instagram Home Page of Creator Studio. Click the create post button on the top left hand corner. It will give you the option to create a newsfeed post or IGTV post. IGTV is Instagram Television and is their long form video platform, so only use this if you have longer than 1 minute videos. Most of the time, you will be using the newsfeed option, unless you are putting together a long form video series.
Step #4 - Choose your Account
Choose your Instagram Profile. If you have multiple Instagram profiles, you will have to choose which Instagram profile you would like to use for posting.
Step #5 - Add Content to Your Post
Landed on the post creation screen. This is where you will put together you content for the post.
Tip: If you add only one image and then want to add another before posting, the +Add Content button will appear to the right of the Your Post bar.
Step #6 - Schedule Your Post to Publish
You have finished putting your post together, now it is time to schedule it. Click the blue arrow next to the publish button.
Step #7 - Pick an Ideal Time
Pick the time you are scheduling your post for. The brands that I work with get the best results if they post between 8-10 PM, but we recommend that you test multiple times and figure out what time works best for you. Click the Schedule button to complete the schedule!
You are Done!
If you would like to learn more about how to create a great social media strategy for your business, click below and download our FREE Strategy guide today! This will subscribe you to even more insights and tips in social media so you can improve your results this year!


